Use OIDC SSO
PhoenixAI supports user authentication using OpenID Connect (OIDC) single sign-on (SSO).
- Only console users with the Account admin role can configure OIDC SSO.
- SAML SSO and OIDC SSO are mutually exclusive. Disable SAML SSO before you enable OIDC SSO.
Enable OIDC SSO
The following tutorial provides examples for Okta, AWS, and Google.
Step 1: Prepare PhoenixAI Redirect URL
- Sign in to the PhoenixAI Cloud console as the account administrator.
- In the left-side navigation pane, choose Account > Account settings.
- On the Single sign-on tab of the Account settings page, click Configure in the OIDC section to display the Configure OIDC dialog box.
- In the Configure OIDC dialog box, click the Copy icon next to the PhoenixAI redirect URL field and save the URL properly.
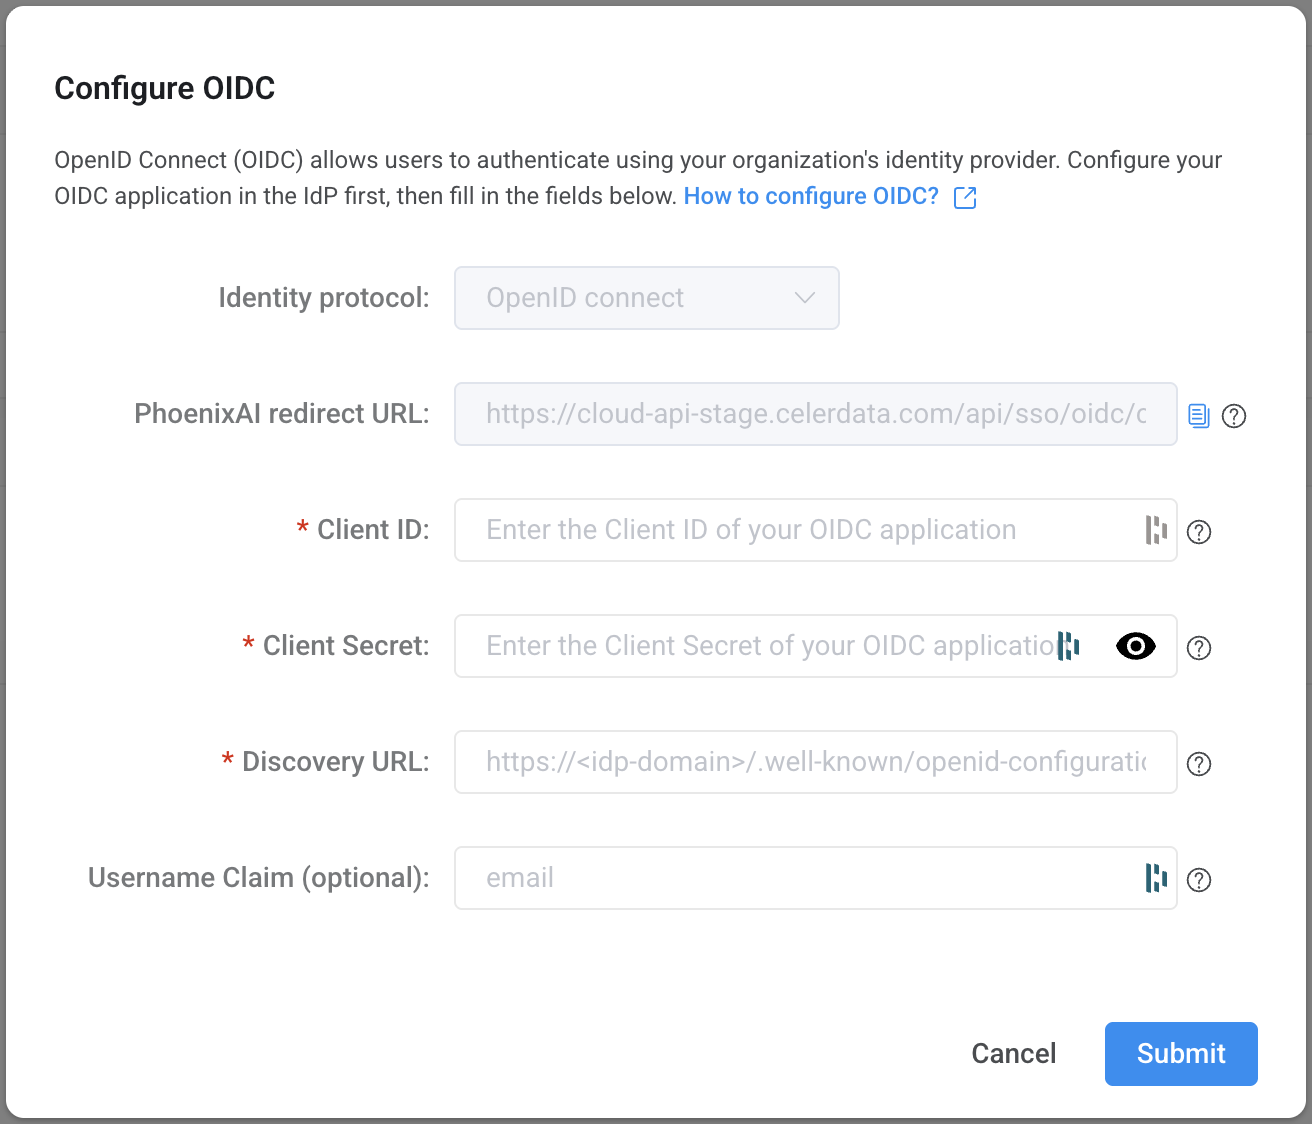
Do not close the PhoenixAI Cloud console. You will need to complete further configurations on the console in the following steps.
Step 2: Set up your IdP
- Use Okta as IdP
- Use AWS as IdP
- Use Google as IdP
Follow these steps to set up your IdP:
-
Sign in to the Okta Administration console as a member with administrator privileges.
-
In the left-side navigation pane, choose Applications > Applications.
-
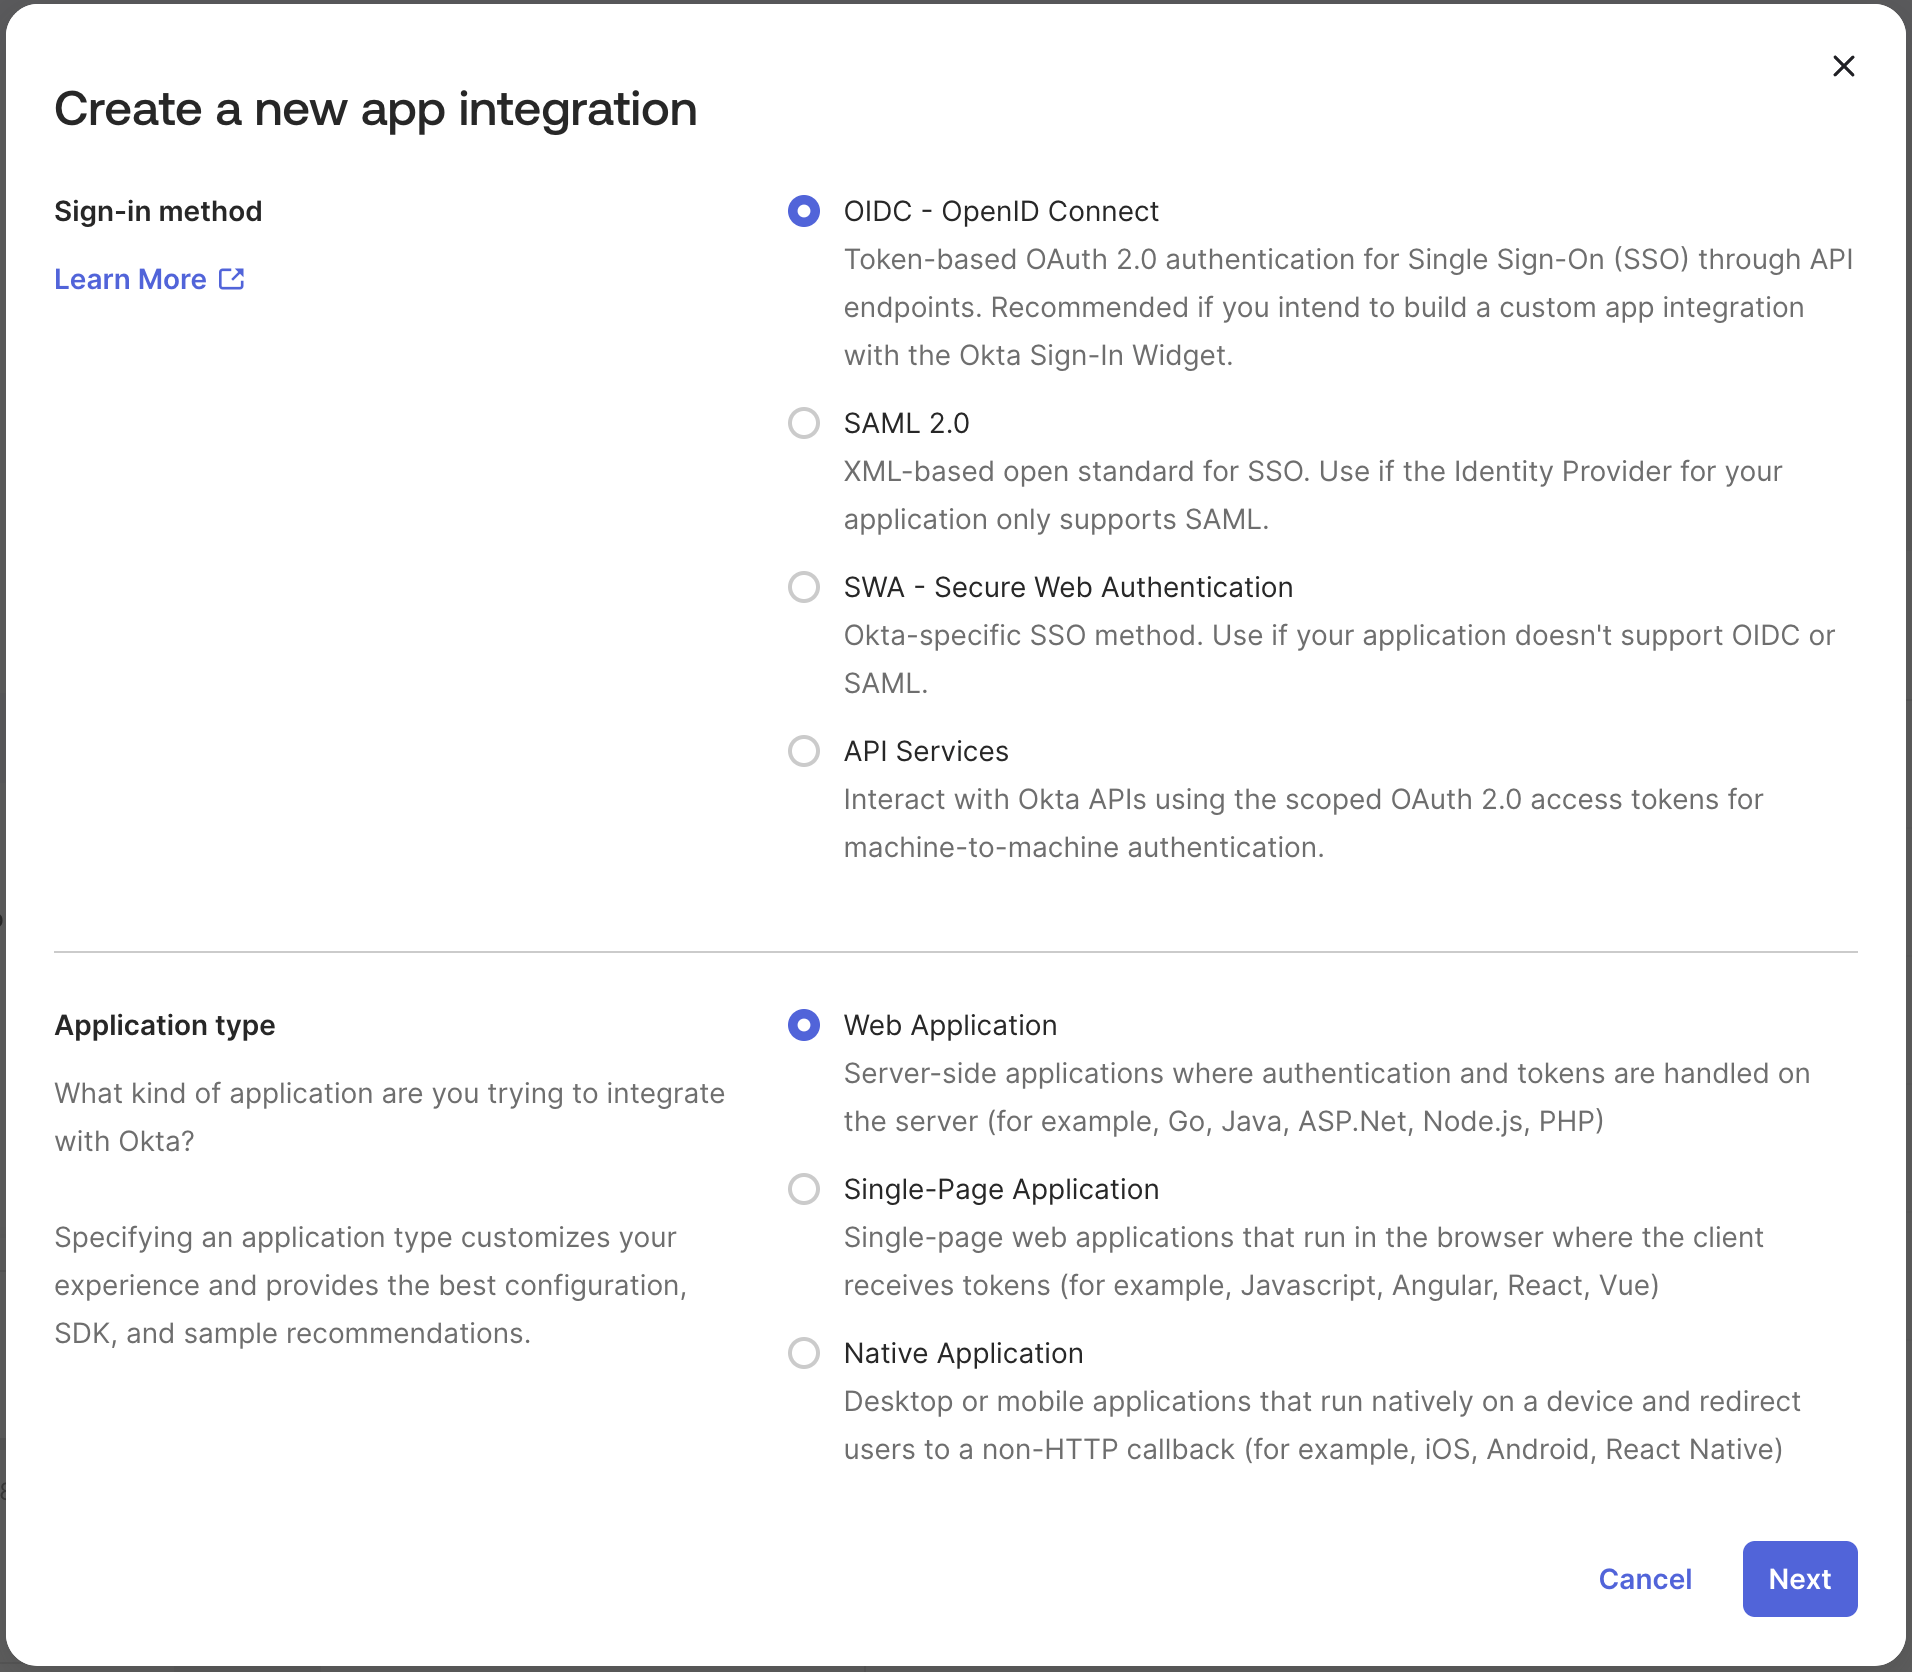
On the Applications page, click Create App Integration to display the Create a new app integration dialog box.
-
In the Create a new app integration dialog box, choose OIDC - OpenID Connect for Sign-in method, and choose Web Application for Application type.
-
Click Next.
-
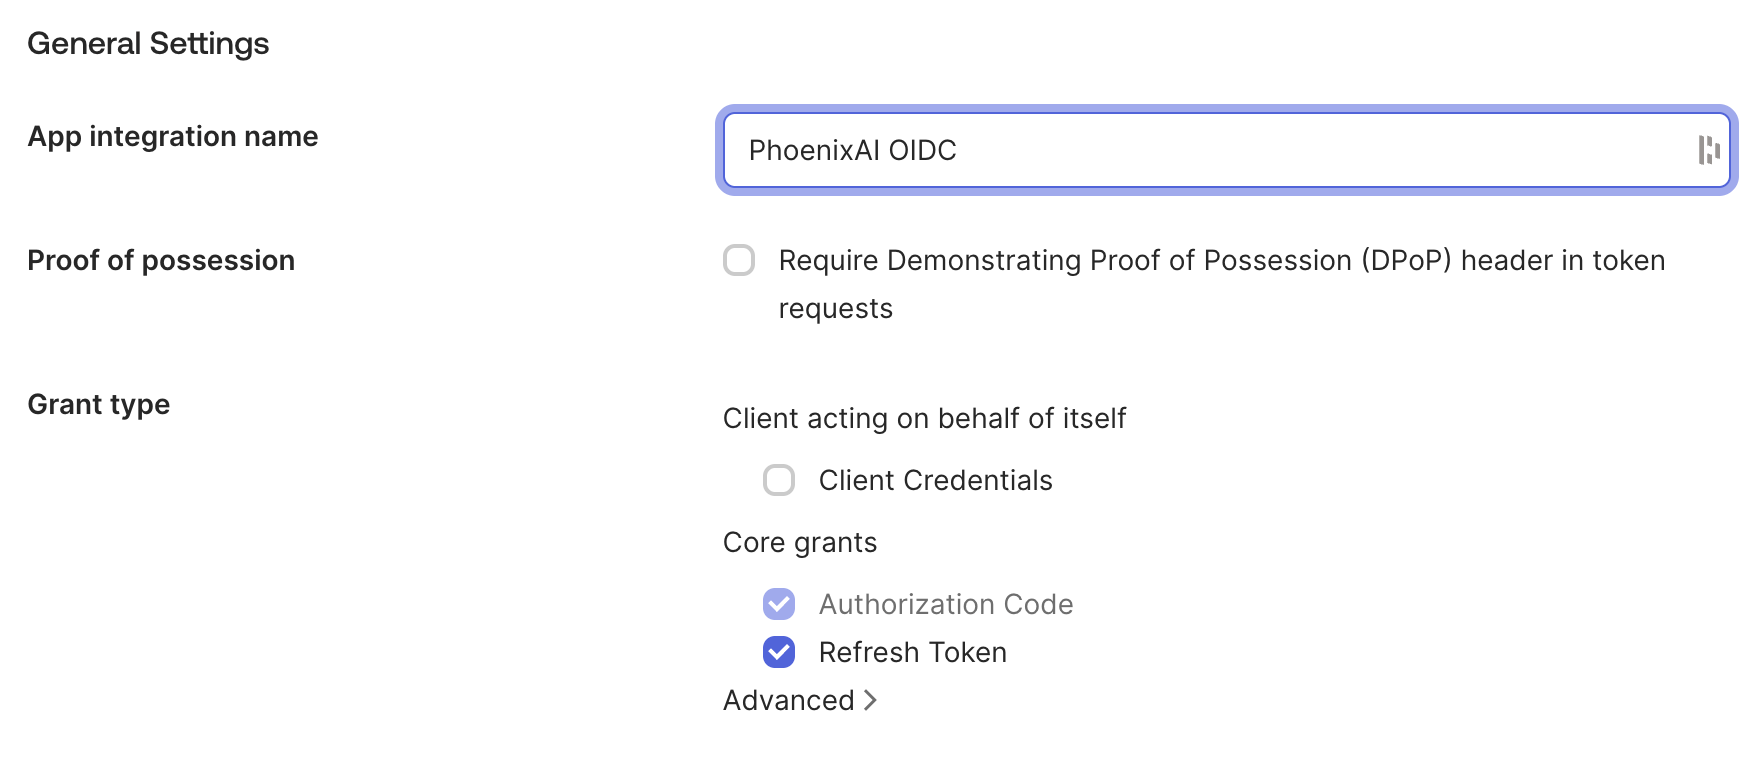
On the General Settings section of the New Web App Integration page, enter a name for your application, select Client Credentials for Client acting on behalf of itself, and select Authorization Code and Refresh Token for Core grants.
-
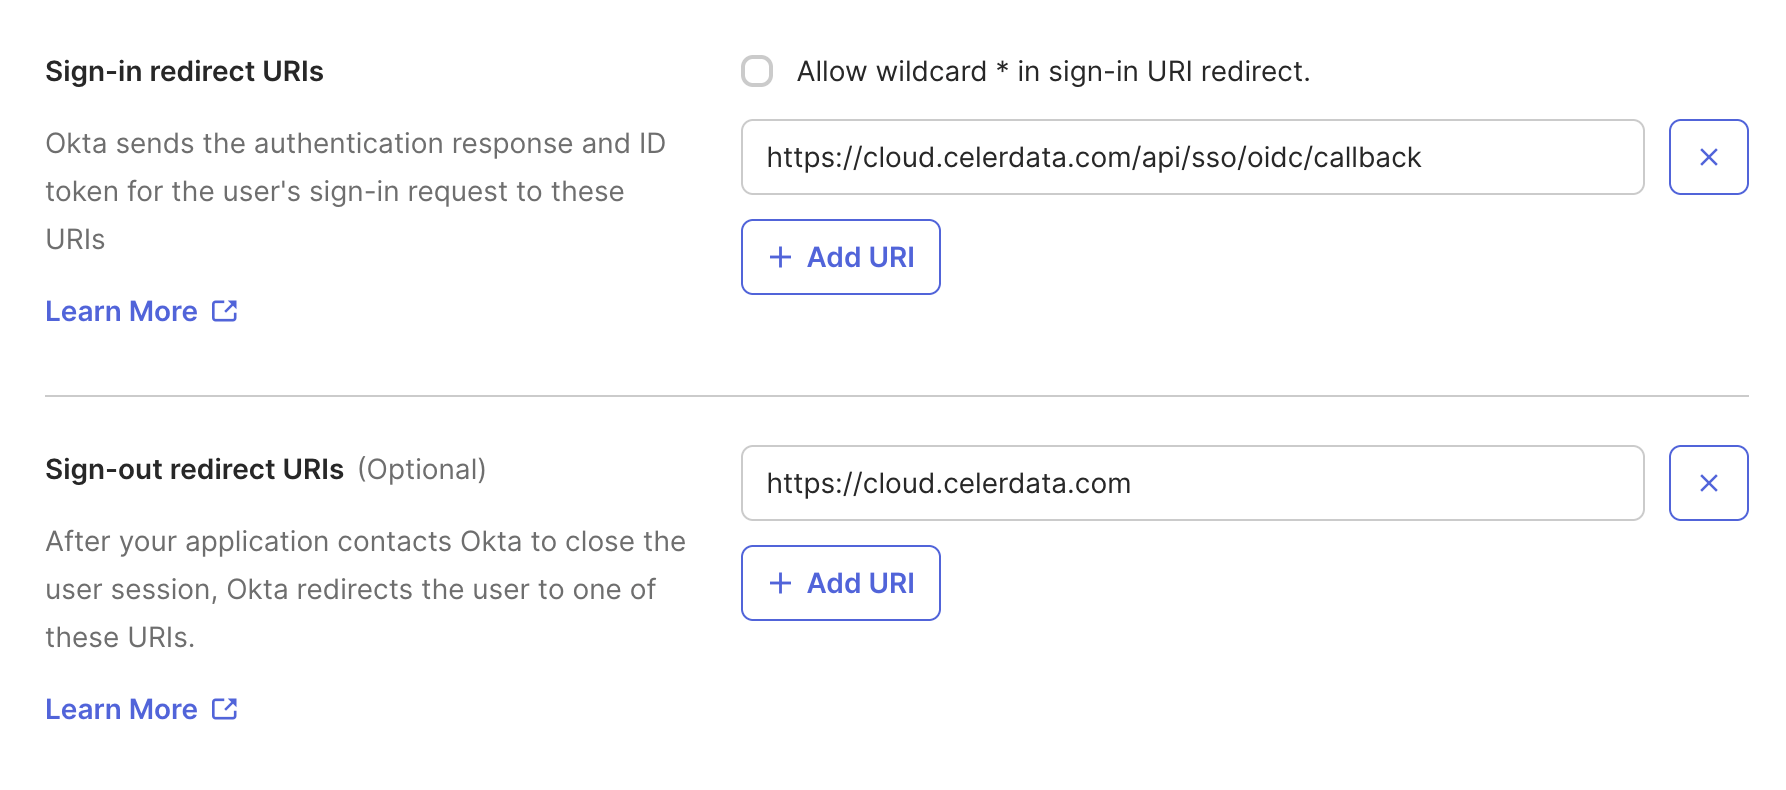
Paste the PhoenixAI redirect URL to the Sign-in redirect URIs section of the New Web App Integration page.
-
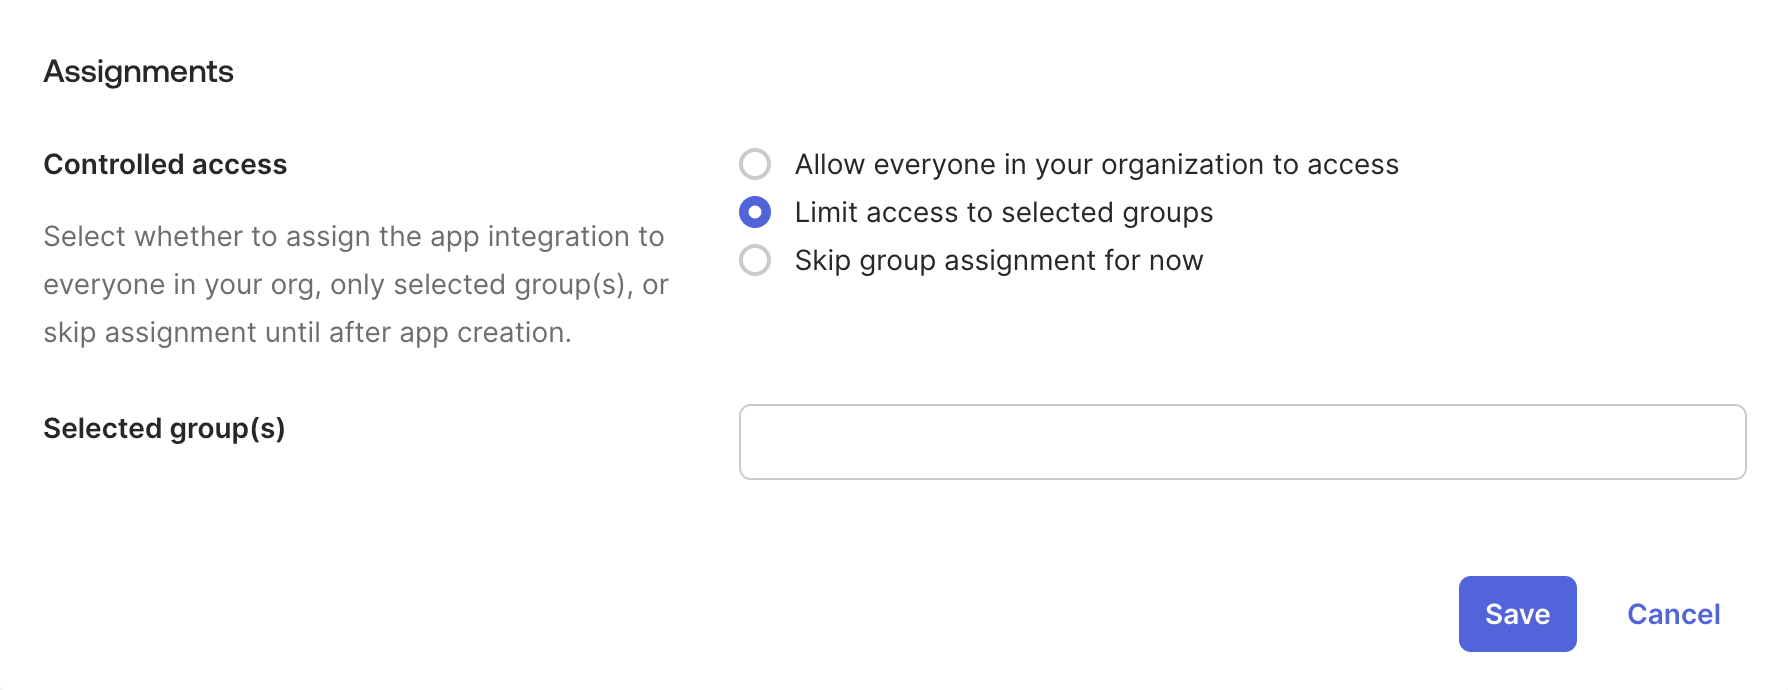
On the Assignments section of the New Web App Integration page, select Limit access to selected groups for Controlled access, search and select groups in the Selected group(s) field, and click Save.
-
In the left-side navigation pane of the Okta console, choose Applications > Applications.
-
On the Applications page, click the application you have created to enter the application detail page.
-
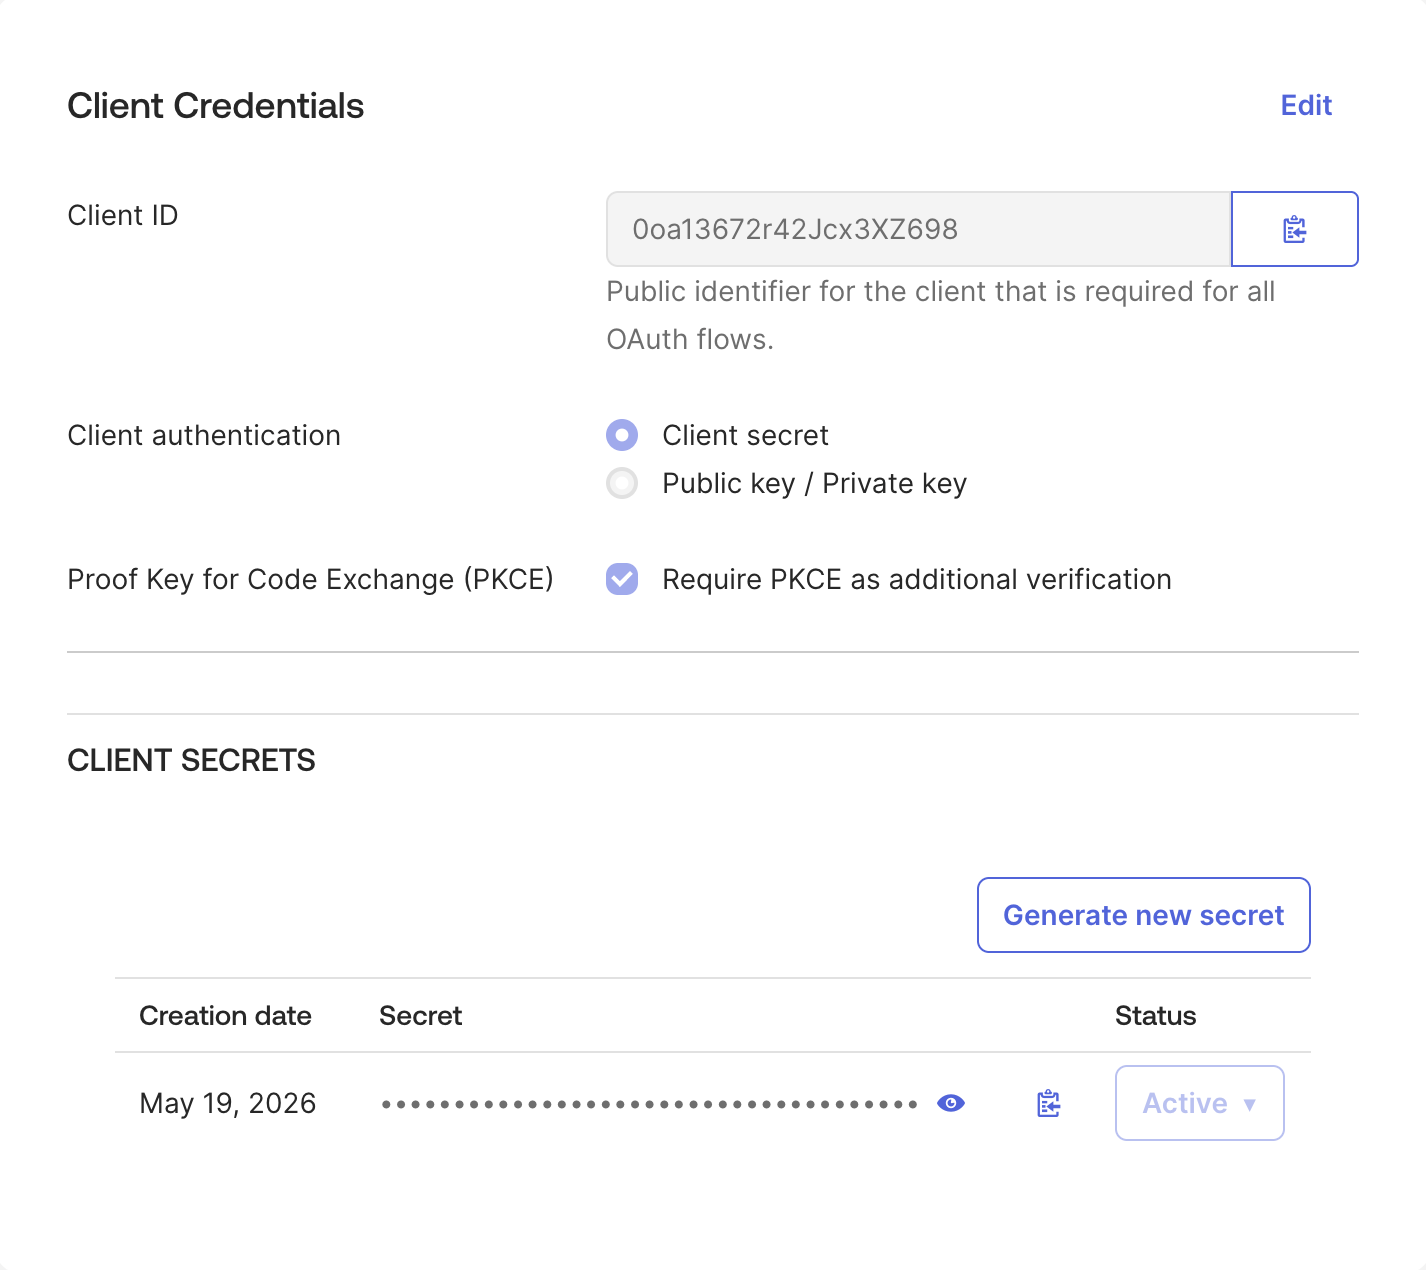
In the Client Credentials section of the General tab, copy the Client ID and save it properly. Then, click Edit in the section, select Require PKCE as additional verification for Proof Key for Code Exchange (PKCE), and click Save.
-
In the CLIENT SECRETS section of the General tab, copy the client secret value and save it properly.
-
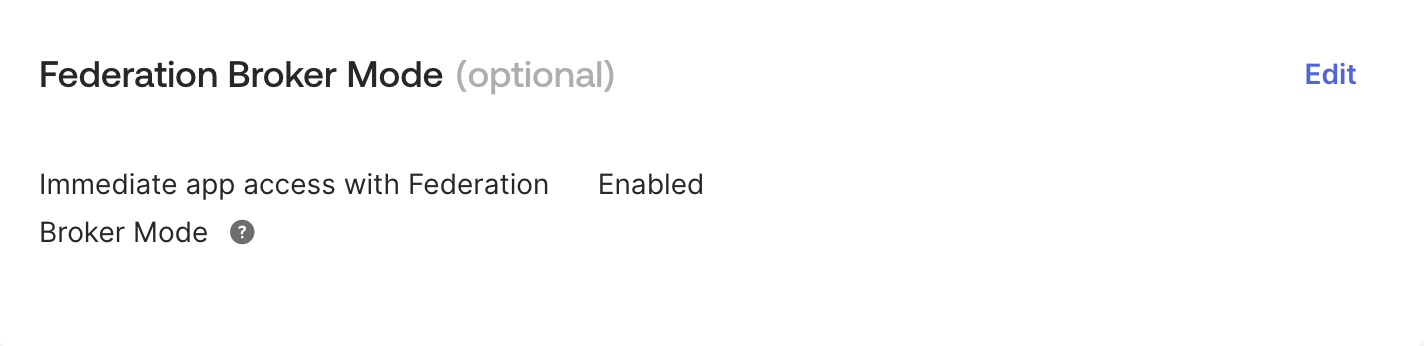
In the Federation Broker Mode section of the General tab, click Edit, and click Enable Federation Broker Mode. In the message that appears, click Continue. Then, click Save.
-
On the Applications page, click Assign Users to APP.
-
On the Assign Apps to People tab of the Assign Applications page, configure as follows:
a. In the Applications section, select the application you have created.
b. In the People section, select the user to whom you want to assign the application.
c. Click Next.
- On the Confirm Assignments tab of the Assign Applications page, click Confirm Assignments.
Follow these steps to set up your IdP:
-
Sign in to the AWS Cognito console as a user with administrator privileges.
-
In the left-side navigation pane, choose User pools.
-
On the User pools page, click Create user pool.
-
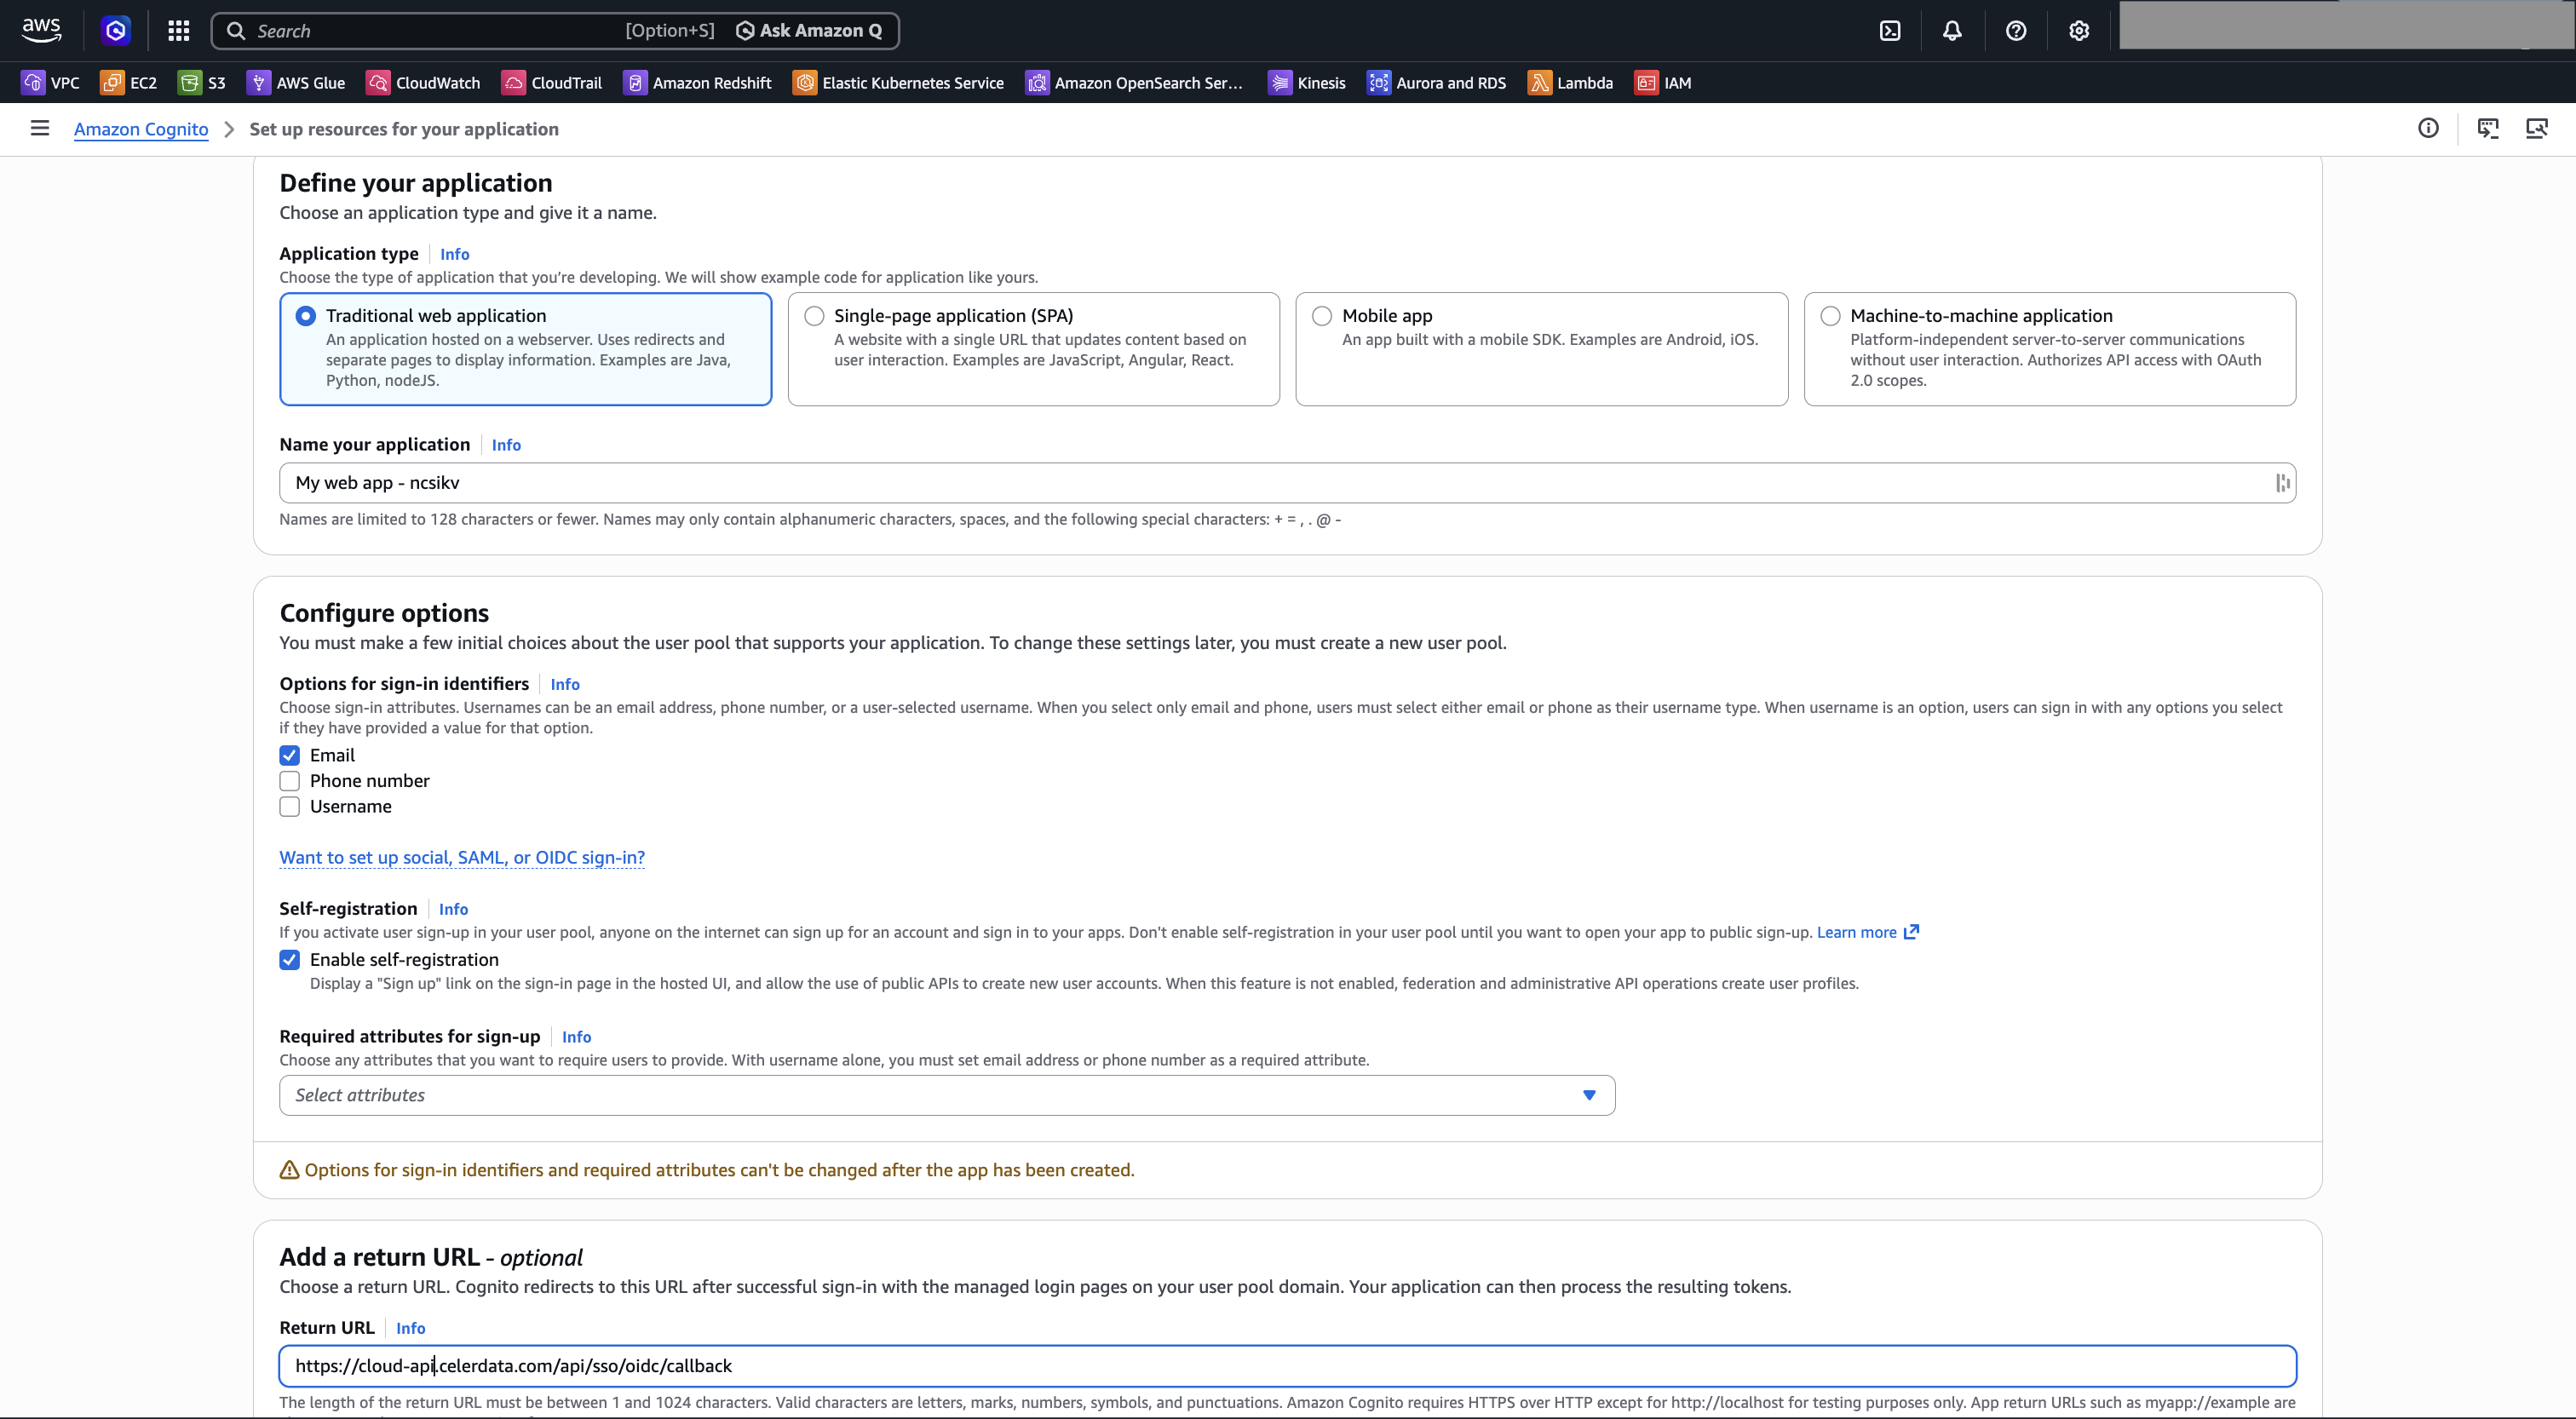
In the Define your application section on the Set up resources for your application page, select Traditional web application for Application type, and enter a name for your application.
-
In the Configure options section on the Set up resources for your application page, select the Options for sign-in identifiers for authentication.
-
In the Add a return URL section on the Set up resources for your application page, paste the PhoenixAI redirect URL to the Return URL field.
-
Click Create user directory.
-
Return to the AWS Cognito console, choose User pools in the left-side navigation pane, and click the user pool you have just created.
-
On user pool overview page, click the copy button to copy the User pool ID and save it properly.
-
In the left-side navigation pane, choose Applications > App clients.
-
On the App clients and analytics page, click the web application you just created.
-
On the App client overview page, click the copy buttons to copy the Client ID and Client secret, and save them properly.
-
Return to the AWS Cognito console, choose Users in the left-side navigation pane, and click Create a user.
-
Review the User pool sign-in and security requirements for guidance on password requirements, available account recovery methods, and alias attributes for your user pool.
-
Specify a Username for the user to whom you want to assign the application.
-
Create a password or Generate a password for the user.
-
Click Create.
Follow these steps to set up your IdP:
-
Sign in to the Google Admin console as a user with administrator privileges.
-
In the left-side navigation pane, choose APIs & Services > Credentials.
-
On the Credentials page, click Create credentials, and select OAuth Client ID.
-
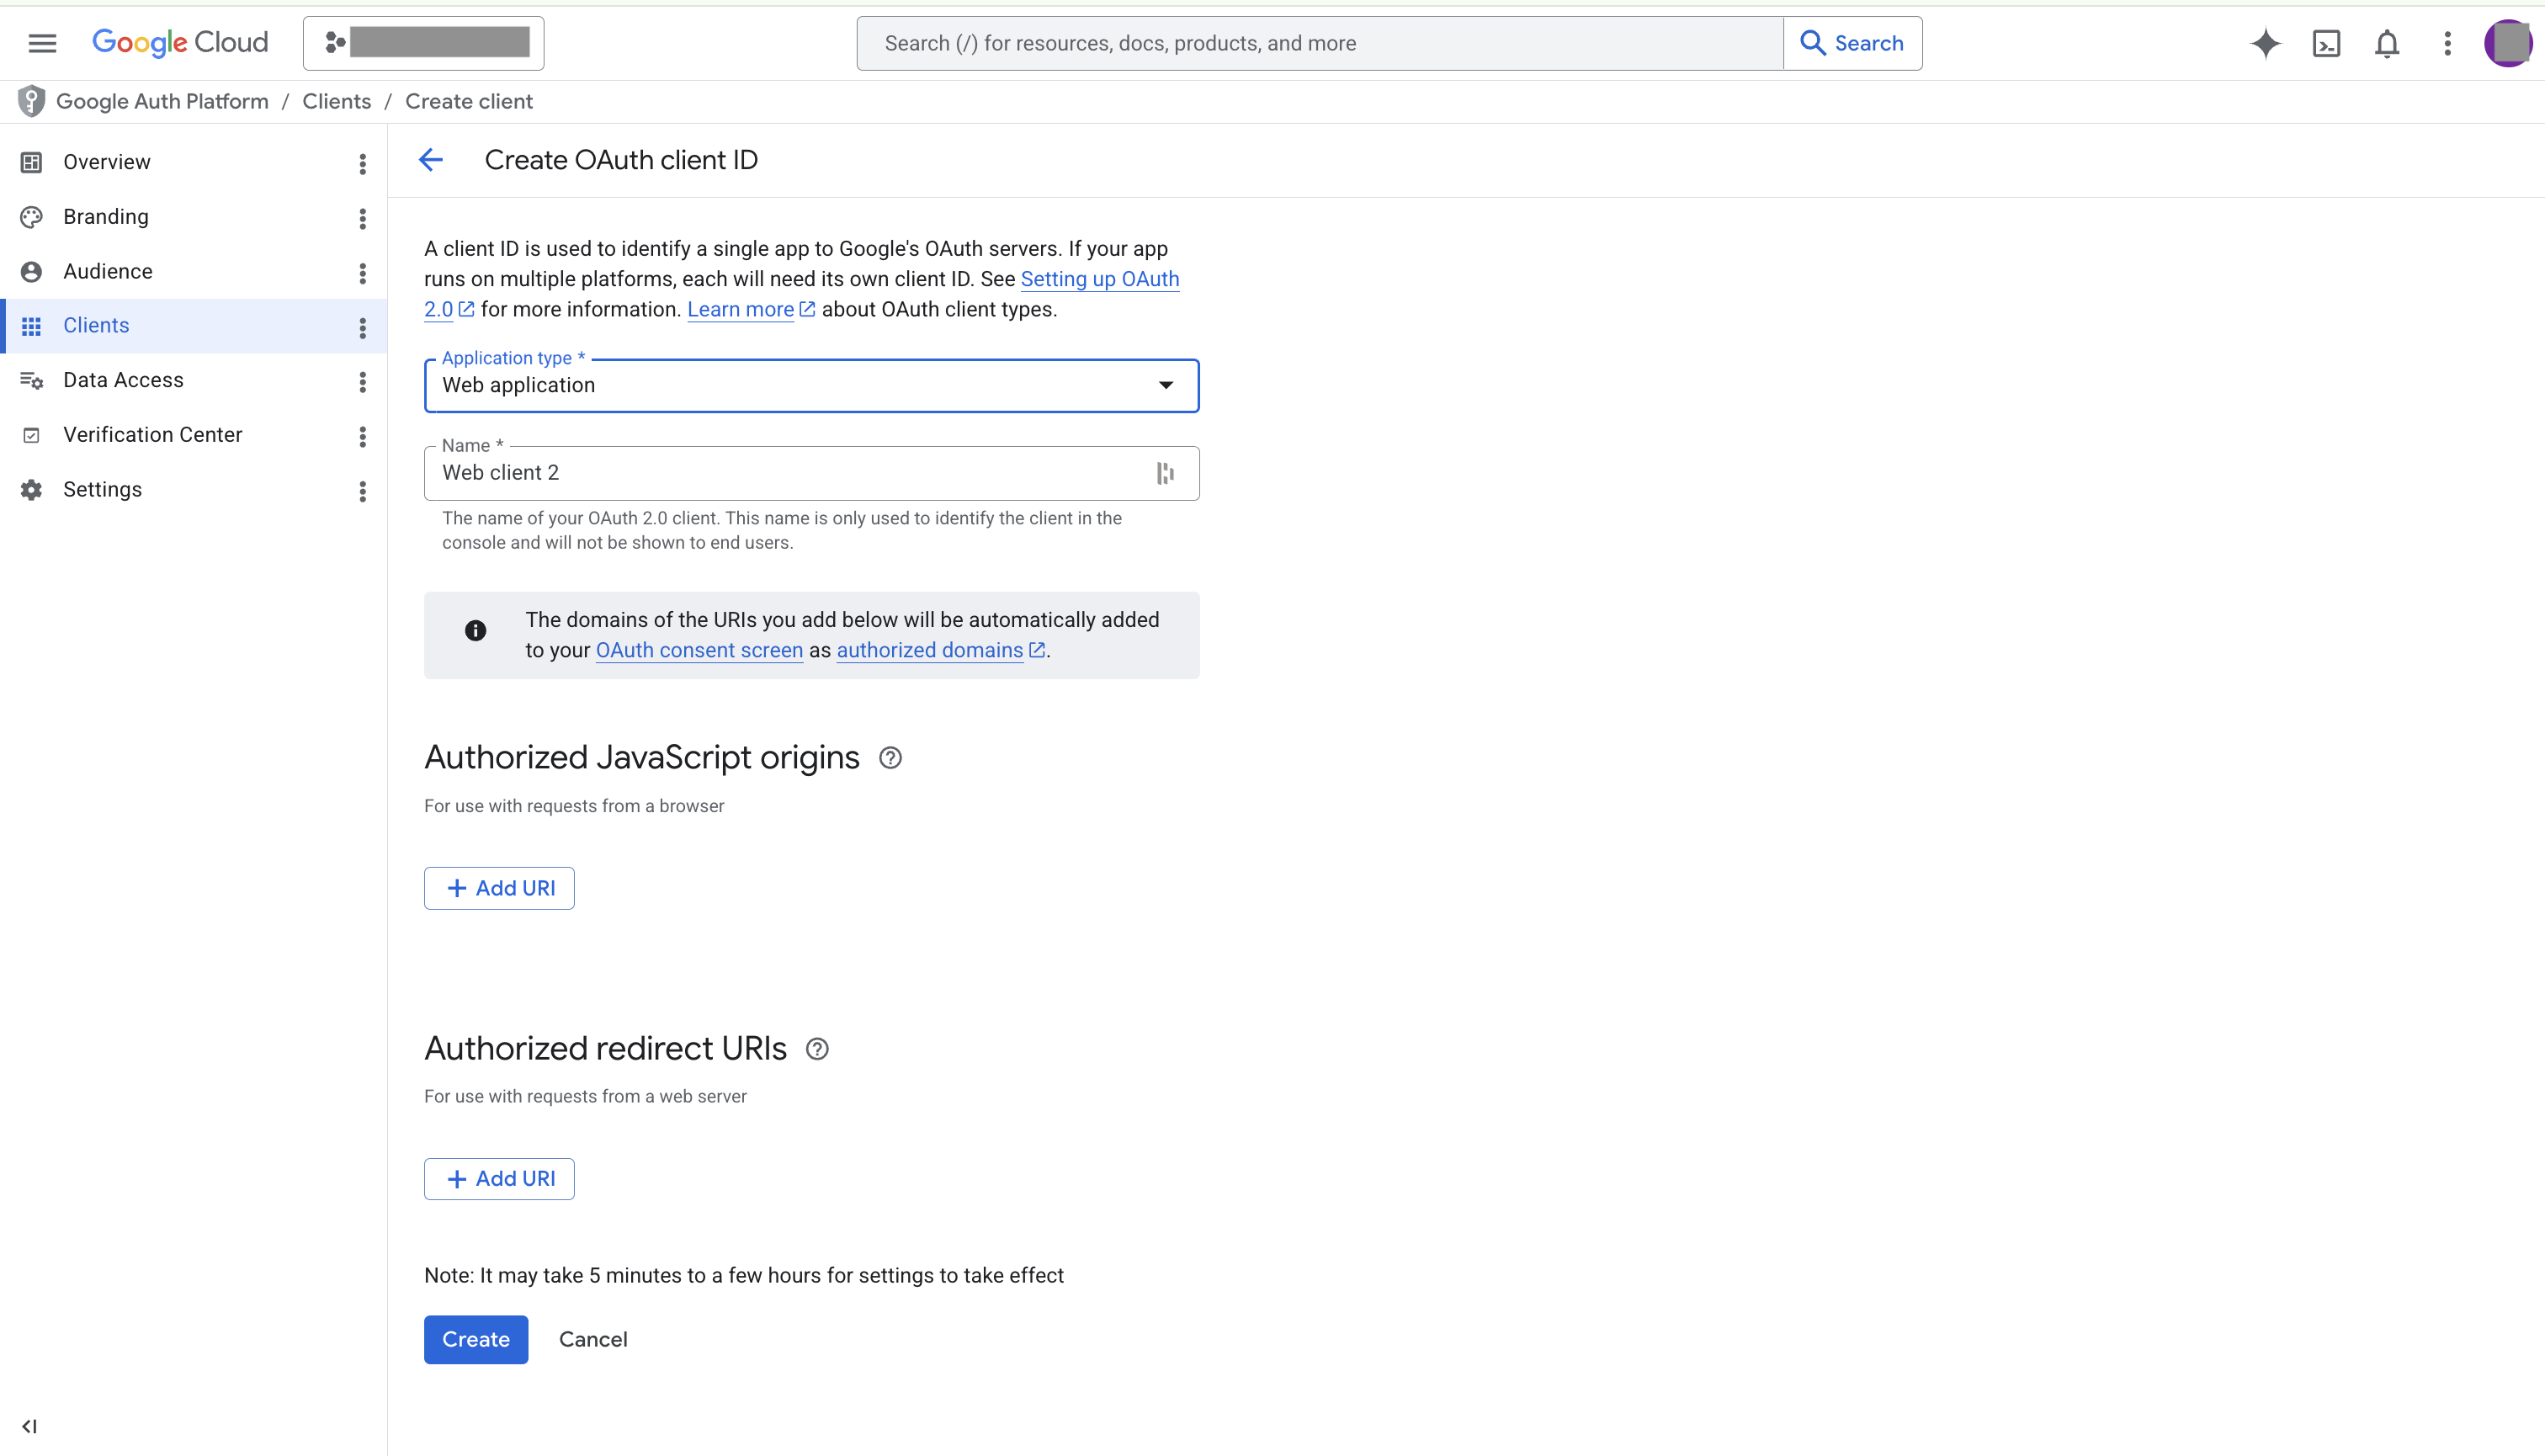
On the Create OAuth client ID page, configure as follows:
a. Select Web Application for Application type.
b. Enter a name for your application in the Name field.
c. Click Add URI in the Authorized redirect URIs section, and paste the PhoenixAI redirect URL to the URI field.
-
Click Create.
-
On the message that appears, click the copy buttons to copy the Client ID and Client secret of the web application, and save them properly. Then, click Ok.
-
In the left-side navigation pane, choose APIs & Services > OAuth consent screen. Then, choose Audience.
-
On the Audience page, click Add users.
-
On the Add users tab, enter the email address of the user to whom you want to assign the application. Then, click Save.
Refresh Token must be enabled on your web application. Without it, sessions cannot be silently renewed and users get bounced back to the IdP every time the id_token expires (typically every hour).
- On Okta, you need to select the
Refresh Tokencheckbox under Grant type. - On Google Workspace, set
access_type=offlineandprompt=consent(the literaloffline_accessscope is rejected by Google). - For other IdPs, use equivalent options (for example, include
offline_accessin the requested scopes).
Step 3: Configure and enable OIDC SSO on PhoenixAI
-
Return to the Configure OIDC dialog box on your PhoenixAI Cloud console.
-
Paste the client ID of your web application you have copied to the Client ID field.
-
Paste the client secret of your web application you have copied to the Client Secret field.
-
Specify the Discovery URL (the OIDC discovery document path, or the well-known OpenID configuration path) for your IdP. The following table list the Discovery URL format for Okra and Google. For other IdPs, you can refer to the corresponding official documents.
IdP Discovery URL Okta https://<your-tenant>.okta.com/.well-known/openid-configuration(Replace<your-tenant>with your actual tenant.)AWS https://cognito-idp.<aws_region>.amazonaws.com/<user_pool_id>/.well-known/openid-configuration(Replace<aws_region>with your AWS region ID, and<user_pool_id>with your actual user pool ID.)Google https://accounts.google.com/.well-known/openid-configuration -
Specify email in the Username Claim unless your IdP uses a different field for authentication.
-
Click Submit.
-
On the Single sign-on tab of the Account settings page, click Test SSO to test the connectivity of your OIDC configuration.
-
On the page that appears, log in to your IdP, and you will be redirect to the PhoenixAI Cloud console if the login succeeds.
-
When the test passed, click Enable on the Single sign-on tab of the Account settings page.